Maya was halfway through checkout for concert tickets when “payment declined” flashed on her screen. She had money in her account, and her card worked yesterday, so the message felt unfair and frustrating. In 2026, this happens to millions of shoppers because banks and payment systems run extra safety checks (and sometimes tech glitches or tight budgets get in the way). The good news is that it’s usually fixable fast, without a big hassle.
First, you need to figure out what type of decline you’re seeing, because the fix depends on the cause. Sometimes it’s simple, like low available funds, a spending limit you hit, or a billing address mismatch. Other times, fraud filters block a purchase after repeated tries or unusual location or device signals, and that can happen even when the transaction is legit (research on chargebacks suggests a large share come from valid purchases that get flagged). Also, payment screens can fail to match your bank’s latest security rules, especially during peak hours or with certain cards.
Next, you’ll want to work through the most common reasons, starting with insufficient funds, then fraud flags, then payment errors you can correct on your side. After that, the prevention tips will help you avoid repeats, like updating your account info, checking your bank’s alerts, and using payment methods that handle declines more smoothly (many merchants now use tokenization, which helps protect card details).
Start with the quick steps right away so you can get back to shopping soon, because most declines clear after a few fixes.
Stay Calm and Check These First Steps Right After a Decline
When you see payment declined, it can feel personal and stressful. Take a breath. Most declines fix fast once you check the basics first, especially because banks often need a moment to finish reviewing activity.
Double-Check Your Balance and Recent Activity
Start in your bank app. Look at both available balance and recent activity. Why? A balance can look fine, while a hold or an uncleared pending charge quietly keeps the money “locked.”
Also, payment troubles can snowball. For example, if you’re dealing with student loan strain (recent data shows about 11% of borrowers were 90+ days delinquent by late 2025), you might miss one payment or pay late. That can trigger fees, smaller cash flow, and then an overdraft on something that hits next.
Do these steps in order:
- Open your bank app and check your available balance (not just the posted balance).
- Scan for pending transactions, holds, or overdraft warnings from the last 1 to 3 days.
- If you see a recent hold, confirm what it’s for (store auth, transfer, bill pay).
- If you’re short, move funds from savings or another account right away.
- Wait 24 to 48 hours for holds and reviews to settle, then try again once.
If your app shows a direct deposit as pending, that can also explain why a payment fails. Many pending items clear in 1 to 3 business days, but holds can last longer depending on the bank. For a clearer breakdown, see why bank transactions stay pending.
One more thing: don’t spam retries. Repeated attempts can raise fraud flags and turn a simple problem into a bigger one.
Verify Card Details Haven’t Changed
Next, check whether the card details are still correct. This is common after you renew a card, update a billing address, or switch payment methods on an account.
Common issues include:
- Expired card
- Wrong CVV (the security code)
- Billing address mismatch
- Card number copied wrong (even one digit off)
Try a quick fix demo:
- In your card account or wallet, confirm the expiration date and CVV.
- Re-check the billing ZIP code matches your bank records.
- If you recently moved, update your billing address in the merchant or subscription page.
- Enter the details again carefully, then submit one payment attempt.
If your decline includes a code like “05”, it often means the issuer blocks it, sometimes for fraud risk or a mismatch. In that case, switching the payment method (or using a different card) can help while you contact your bank.
When you get the payment to go through, save a backup method too. Many people use PayPal or Apple Pay as a second option, so a card detail issue doesn’t stop everything at once.
Solve Low Funds or Credit Issues Before They Block More Purchases
When money gets tight, declines stack up fast. One missed payment can lead to another, then the next purchase fails simply because your account balance (or credit line) can’t cover it. In early 2026, the average US credit score sits around 715 to 716, but loan and credit stress still shows up for many households. About 4.8% of US household debt is delinquent, and those numbers climbed again after COVID-era payment relief ended.
Think of your budget like a leaky bucket. One small hole will not stay small. So, instead of trying to “tough it out” and re-trying the same payment, fix the root problem first: overdues and available cash. Also, know the difference. A credit-card decline often means your credit line or issuer rules blocked the charge. A debit-card decline usually means your checking balance could not support it right now. Same message, different repair.
In this section, you’ll use a simple sequence: pay what’s overdue, move money quickly, then prevent the next block with alerts and a short buffer.
Pay Off Overdues and Transfer Money Quick
Start by stopping the decline loop. Paying an overdue bill can remove a stress trigger. At the same time, a quick transfer can fix the immediate “not enough money” problem. In many cases, you can do both in one bank session.
First, handle overdues the way you’d put out the first fire. Pull up your bank app and your billing list, then sort by urgency:
- Overdue bills with due dates passed (past-due credit cards, utilities, phone)
- Payments scheduled soon (rent, subscriptions, car payment)
- Anything marked as “past due” in your account portal
Next, make a fast transfer to restore available funds. You want money to move before you try the same purchase again. If your bank supports near-instant transfers, use that option. For readers who want a reference on how faster transfers work between banks, see faster money transfers between banks.
Here’s a step-by-step flow you can follow while watching your screen:
- Open your banking app and tap Transfers or Move Money.
- Select the account with the cash (often savings, paycheck account, or another checking).
- Choose To checking (or the account that backs your card/merchant).
- Enter the amount and confirm the payment date as today.
- Submit, then check the transfer status for posted or pending.
If the app shows a pending transfer, don’t panic. Still, wait at least a short window before retrying. Many transfers post within hours, but timing varies by bank and transfer method. Use a single retry once the funds show as available.
After you move money, focus on the overdue payment. You can often reduce the risk quickly by paying either:
- the minimum due to stop escalation, or
- the full past-due amount if you can do it today
If you want a clear plan for catching up on an account, Experian’s guide is a practical walkthrough: how to pay a past-due account.

Now, set a short timeline so you don’t repeat the problem:
- Today: move funds, then pay the most urgent overdue item.
- Next 24 to 48 hours: watch for holds and pending charges to clear.
- When funds become available: retry the purchase once, not repeatedly.
Finally, add one habit that prevents future blocks. Turn on low balance alerts in your bank app. Many people ignore their own warnings until checkout fails. Alerts give you time to act before a purchase gets denied.
As your last step, review one key number in your app: available balance. Not what you think you have. What you can actually spend right now. That single check often stops the next decline from happening.
Clear Fraud Alerts and Bank Security Holds Quickly
When your card gets blocked, it often feels like the bank is accusing you. Still, fraud alerts and security holds are usually a safety pause, not a verdict. Think of it like a bouncer checking your ID before you enter, even if you look familiar.
The key is to act fast and confirm it’s really you, then try the payment again once the hold lifts.
Call Your Bank and Prove It’s You
If a decline comes right after a fraud text or an alert in your banking app, call your bank. This is the fastest path to a fix because the security team can confirm the transaction and remove the block.
Start with the right phone number. Use the number from your bank’s official website or the back of your card, not a number from a text message. Scammers also use “fraud” warnings to trick people into sending codes or moving money. The FTC warns against trusting unexpected calls that claim your money is at risk. See FTC guidance on unexpected money-risk calls.
Here’s what to say when you call, keep it simple and factual:
- “I’m calling about a payment declined message.”
- “I received a fraud alert/security hold for a card purchase.”
- “I want to confirm the transaction is authorized and clear the hold.”
- Share the details: merchant name, amount, date, and last four digits of the card.
Expect common questions. Banks often ask:
- The merchant name and purchase amount
- Whether you’re traveling or recently changed your routine
- The billing ZIP code on file
- Whether you have multiple cards/accounts linked to the same wallet
- If you noticed any other declines around the same time
Also be ready to verify your identity. That can mean answering personal questions or using a passcode sent to you.
If you got a text asking you to confirm the charge, you may already be in the “paused” state. Some banks stop the card until you respond, then they reopen access after you confirm. If you didn’t reply right away, call anyway.
If the caller asks you to move money or share codes, treat it as a scam. Your money can stay where it is.
For extra safety, the FTC also explains how calls about bank fraud can be fake, and why you should never move or transfer money to “protect it.” Use FTC advice on calls about fraud activity.
Phone script you can read word-for-word:
- “Hi, my debit card got blocked with a payment declined alert. I also received a fraud/security hold notice. I’d like to confirm this purchase is mine and ask you to clear the hold. The merchant is __, amount is __, and it happened on __. I’m currently at __ (city/state). Can you verify the details and reopen the card for this merchant?”
If the agent can’t clear it immediately, ask:
- “What specifically triggered the hold?”
- “Is there a time window to retry?”
- “Will you note my account so the next attempt passes?”
If you want a bank-focused fraud reporting path, check how to report fraud to Bank of America (same idea applies to other banks, just use your own bank’s process).
Switch to a Backup Payment Method While You Sort It
While you’re calling and verifying, don’t let one blocked method stop the whole purchase. Switch to a backup payment method so you can finish the checkout.
Start by using what you already have in your wallet:
- Digital wallets like Apple Pay, Google Pay, or PayPal (often quicker because the wallet routes the payment securely)
- A second card in your wallet (a different card number can bypass the specific hold)
- A bank account payment (if the merchant offers ACH, it may go through when card holds fail)
Digital wallets are often convenient, but they still depend on your bank’s approval rules. If the decline happened because of a broader fraud filter, the wallet may fail too. That’s why having more than one option matters. For a practical comparison, read digital wallets vs. physical credit cards.
Quick pros and cons to keep in mind:
| Option | Pros | Possible downside |
|---|---|---|
| Digital wallet | Fast checkout, secure token use | May still trigger the same bank review |
| Second card | Lets you separate “method” from “account” | If fraud flags are broad, it can decline too |
| Bank account (ACH) | Sometimes avoids card holds | Not always instant, may take longer |
So, what should you do next? Try this order:
- Finish checkout with a backup method.
- Save the details of the failed transaction (merchant, amount, time).
- Retry only after the bank confirms the hold is cleared.
Also, avoid repeated rapid tries on the same card. Too many attempts can look like fraud behavior, even when you’re just trying to buy tickets. Once the bank removes the block, you can return to the original payment method if you want.
Fix “Do Not Honor” Errors and Other Tech Problems
When a card decline pops up, it rarely means you did something “wrong” on purpose. Most often, the bank sees a mismatch, a data issue, or a temporary safety flag. And the message can be as vague as a closed door with no keyhole.
This part helps you handle one of the most common mysteries, “Do Not Honor” (code 05), plus other tech snags that look like fraud or a system outage.

Update Your Card Info and Try a Different Processor
Start with the simplest fix: update your payment details exactly as your bank lists them. This step matters because “Do Not Honor” often shows up when the bank does not trust the data it received (even if the card “looks” correct to you).
If you keep seeing 05, treat it like a vague reject, not a friendly hint. In many cases, it comes from bad or incomplete transaction data, or from repeated attempts that train the bank’s filters to expect risk. Also, some declines can be linked to regional fees or local processing rules, especially for international or cross-border purchases.
Do this in order:
- Re-enter the card info manually (don’t copy-paste, and don’t rely on auto-fill).
- Confirm the expiration date and the CVV letter-for-letter.
- Make sure the billing ZIP code matches your bank’s address record.
- If it’s a subscription, check for a changed plan amount (small pricing changes can trigger a mismatch).
- Try checkout again once, then stop for a bit if it fails.
Next, shift to a different payment path. Think of it like taking a detour when the main road is blocked. If the merchant accepts multiple ways to pay, use one that routes differently:
- Switch from card to a digital wallet (or vice versa).
- Use a different card from the same bank account.
- Try chip or tap if you’re in a store (online, try a different method if available).
- If you see an option for PayPal or another checkout provider, choose it.
If you want a clear explanation of what “Do Not Honor” code 05 really means and what to do when you hit it, see code 05 “Do Not Honor” meaning and fixes. Also, for a merchant-focused view, check how to fix 05 Do Not Honor decline codes.
One more key rule: don’t retry fast. Rapid repeats can make the bank more suspicious, even when you’re just trying to complete a legit purchase.
If code 05 keeps showing, your best move is to update details, switch methods, then contact the bank or merchant for the right retry window.
Finally, if the purchase is important (tickets, medical billing, urgent orders), contact the merchant support chat and ask for guidance. Often, smart checkout systems can recover when they know the payment was declined for a code like 05, and recovery can improve when the merchant retries with the right parameters.
Prevent Payment Declines from Happening Again with Easy Habits
Once you fix the decline, you want peace of mind. In 2026, fraud checks are tighter, and even legit buyers can get flagged. So your best strategy is simple habits that reduce surprises, before checkout ever fails.
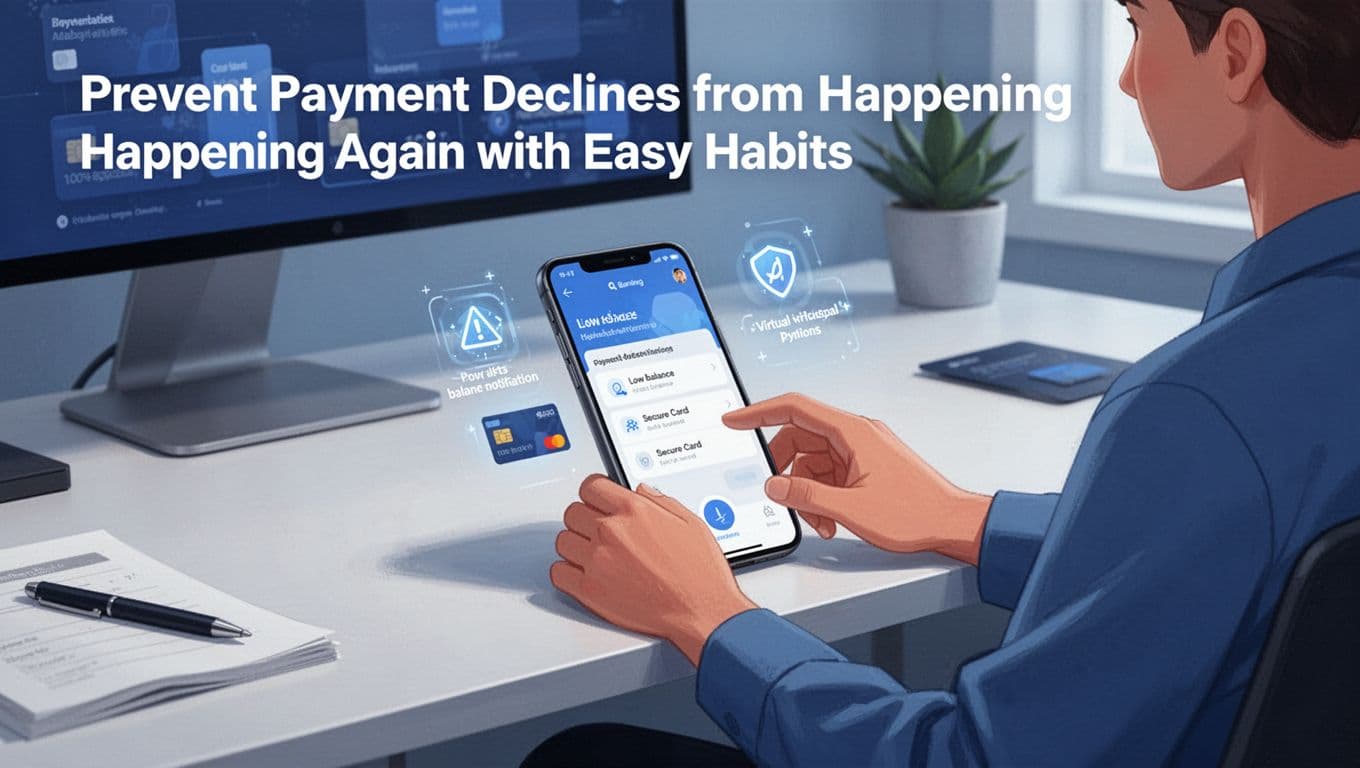
Turn on alerts so you act before checkout fails
Alerts are your early warning system. Instead of finding out at 11:58 PM, you’ll see the problem during the day.
Set these in your bank and card apps:
- Low-balance or low-available-funds alerts
- Transaction notifications for card and online purchases
- Travel or location alerts if your bank offers them
Then add one habit: open the app once a day for 30 seconds. That small look prevents most “it shouldn’t have declined” moments. It’s like checking the road before you drive, not after you hit the pothole.
If you want a starting point for what actually causes declines, review the common reasons your card issuer may cite in their guides, like American Express’s reasons for decline. Use it as a checklist for what to watch.
Keep your payment info fresh (and stop minor errors)
A lot of declines come from tiny mismatches. Your brain thinks the info is right, but the system sees something else.
Do this before you buy or when you renew anything:
- Update expiration dates as soon as a new card arrives
- Confirm the billing ZIP matches your bank record
- Make sure subscription billing amounts match what you agreed to
- Avoid rapid retries when you see the same decline again
Also, store fewer “stale” payment methods. If you have multiple saved cards, remove ones you no longer use. Less clutter means fewer wrong attempts.
Use backups (including virtual cards) and build a credit buffer
Backups stop a decline from turning into a full checkout failure. Use more than one option so one method can fail without ruining your day.
Try this easy setup:
- Add a second card (different number, same account is fine)
- Use digital wallet checkout if your merchant supports it
- Consider a virtual card for online purchases (it can reduce exposure and reduce risk flags)
Virtual cards can also help when a single card gets blocked. They let you change the “door” while keeping the “house” (your account) the same.
Finally, build a small buffer. Even a short cushion in checking can prevent debit declines. If credit is tight, try to keep your balances from hitting the hard limits, because that can increase decline risk during fraud wars.
Conclusion
When a payment declined message pops up, start with the basics, then move to the most likely cause. First, check your available balance and any holds, because money can look fine while checkout still fails.
Next, handle fraud and security blocks the right way. Call your bank using the official number, confirm the merchant and amount, then retry only after the hold clears. After that, fix the tech side by re-checking card details, and switch to a backup method so one decline does not ruin the whole purchase.
If you want fewer surprises going forward, keep alerts on, update saved payment info, and use a backup option like a digital wallet or a second card. These small steps help you catch trouble early, before you reach the final checkout button.
Try one thing today. Turn on low-balance and transaction alerts in your banking app, then check your next scheduled bills for timing.
What decline reason do you see most often, low funds, fraud flags, or an error like code 05, and what worked for you? Share your experience in the comments, and keep an eye out for the next post (we will cover a short FAQ on decline codes and recovery timelines) because you can spot patterns fast once you know where to look.
Declines happen, but you’re in control.